INSTALLATION
I had Vim and NetBeans as IDEs, but I didn't have Eclipse.
Unfortunately Android SDK needs Eclipse IDE.
http://www.eclipse.org/downloads/
There are a lot of variations of Eclipse. Download "Eclipse IDE for
Java Developers (91 MB)".
A Java or RCP version of Eclipse is recommended.
--
http://developer.android.com/sdk/1.5_r2/installing.html
The RCP version of Eclipse is also OK, but its size is twice as the
Java one.
After the installation of Eclipse IDE, install the Android SDK.
Download from here:
http://developer.android.com/
And install them somewhere on your machine. For example, now I'll
install it on ~/android-sdk-mac_x86-1.5_r2.
Write it on your ~/.zshrc:
export PATH=$PATH:~/android-sdk-mac_x86-1.5_r2/tools/
And then install the ADT: Android Development Tools plugin for
Eclipse.
Help > Install New Software...
(I don't know why the plugin adding dialog is located in "Help"
menu. I wonder what did the Eclipse developper thing about it.)
And input it: https://dl-ssl.google.com/android/eclipse/
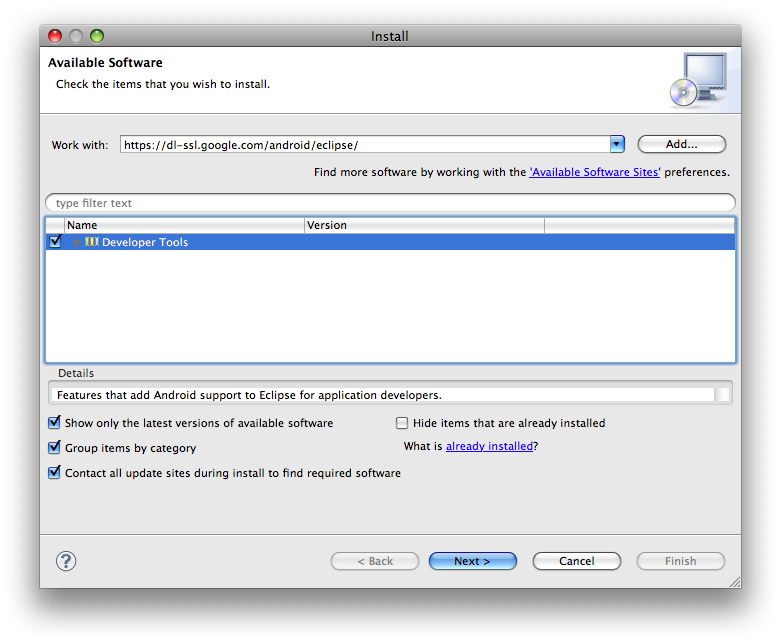
Now you have Android plugin. Before you would create a new Android
app, you have to set a setting on your Eclipse Preferences.
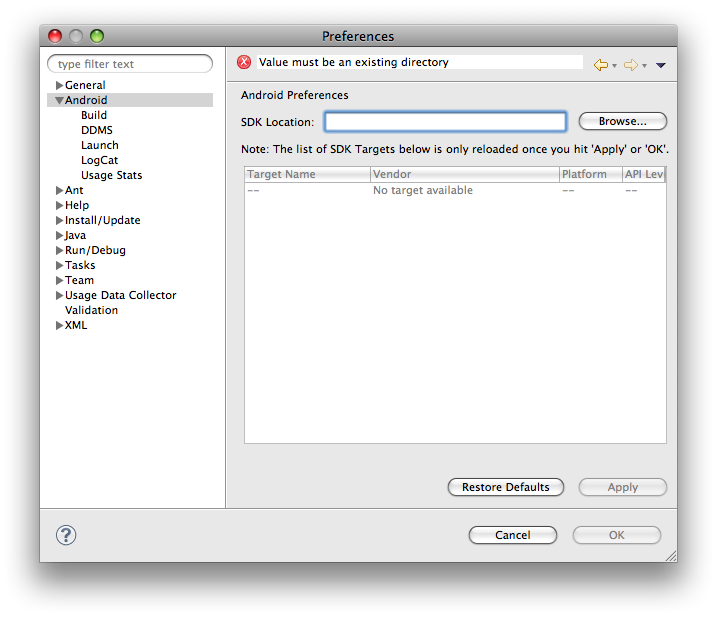
Input the SDK Location and Apply it.
Hello, World with Eclipse
$ android create avd --target 2 --name my_avd # Initial setting
And then make a new Project with your Eclipse.
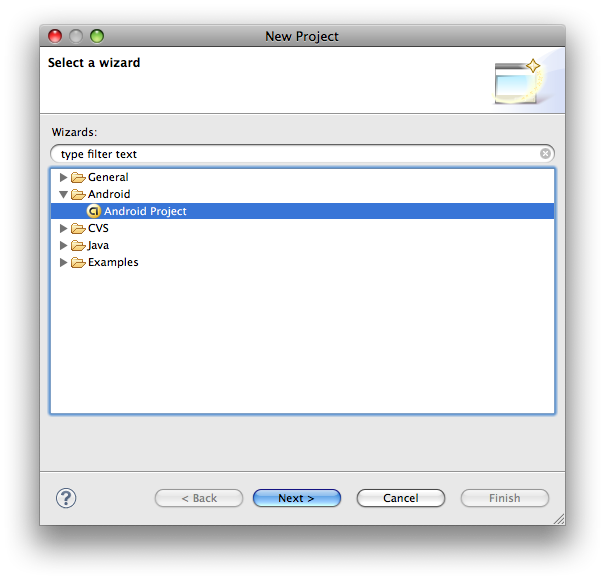
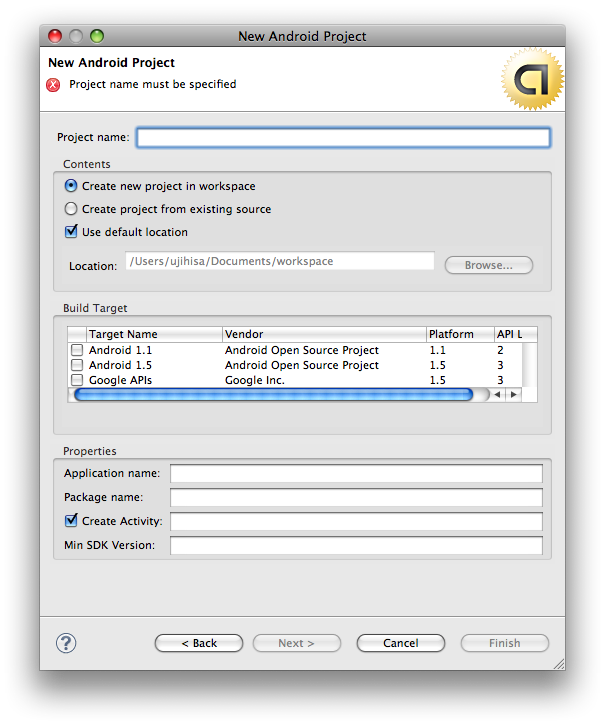
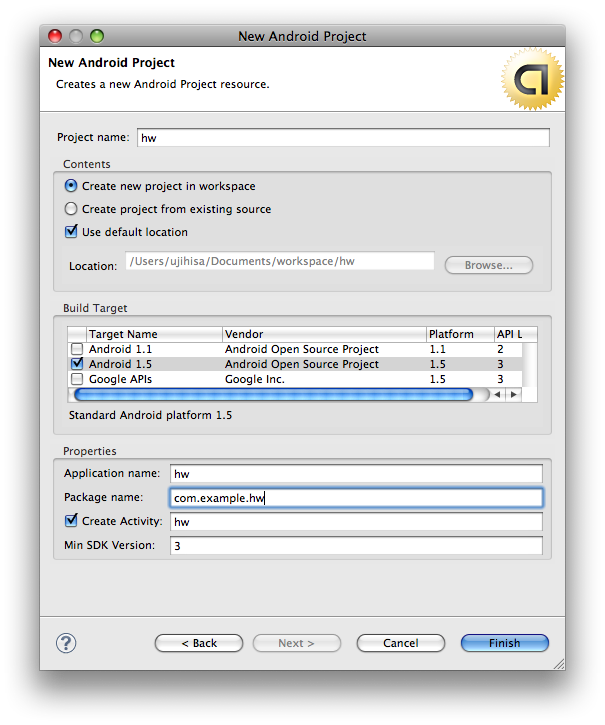
And run it.
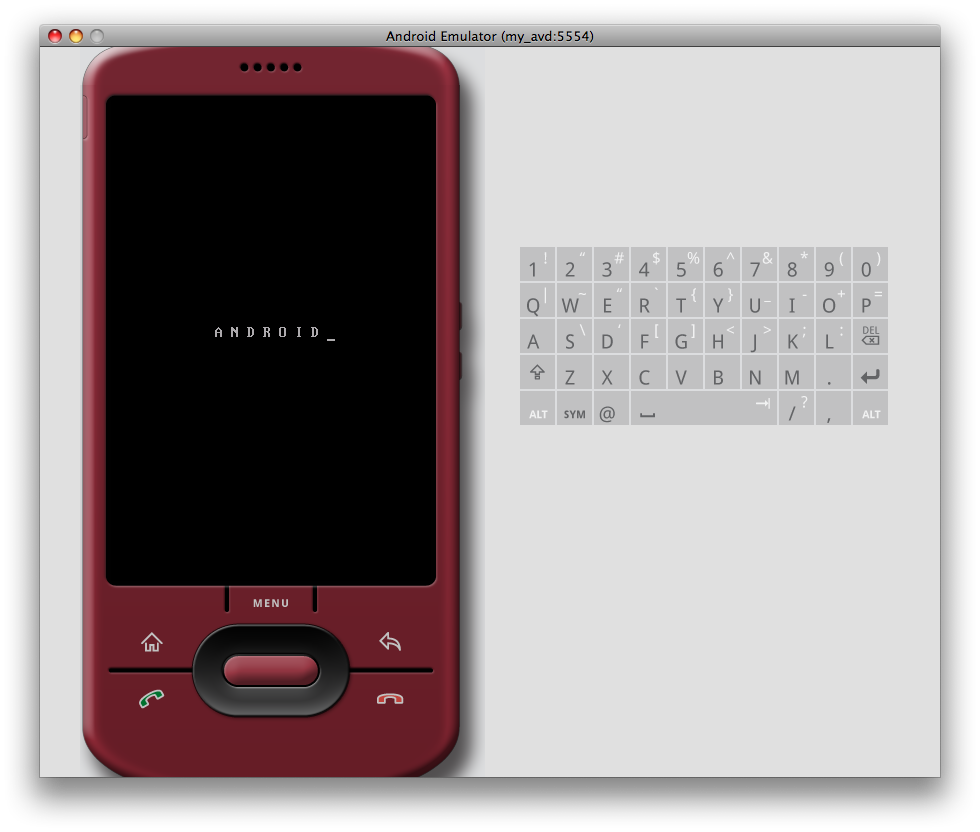
OK. Now let's try to show "Hello, world" on the Android emulator
window.
The initial src/com.example.hw/hw.java is:
package com.example.hw;

import android.app.Activity;
import android.os.Bundle;

public class hw extends Activity {
    /** Called when the activity is first created. */
    @Override
    public void onCreate(Bundle savedInstanceState) {
        super.onCreate(savedInstanceState);
        setContentView(R.layout.main);
    }
}
Fix it like below:
package com.example.hw;

import android.app.Activity;
import android.os.Bundle;
import android.widget.TextView;

public class hw extends Activity {
    /** Called when the activity is first created. */
    @Override
    public void onCreate(Bundle savedInstanceState) {
        super.onCreate(savedInstanceState);
        TextView tv = new TextView(this);
        tv.setText("Hello, Android");
        setContentView(tv);
    }
}
And then run the Android Application by Eclipse.
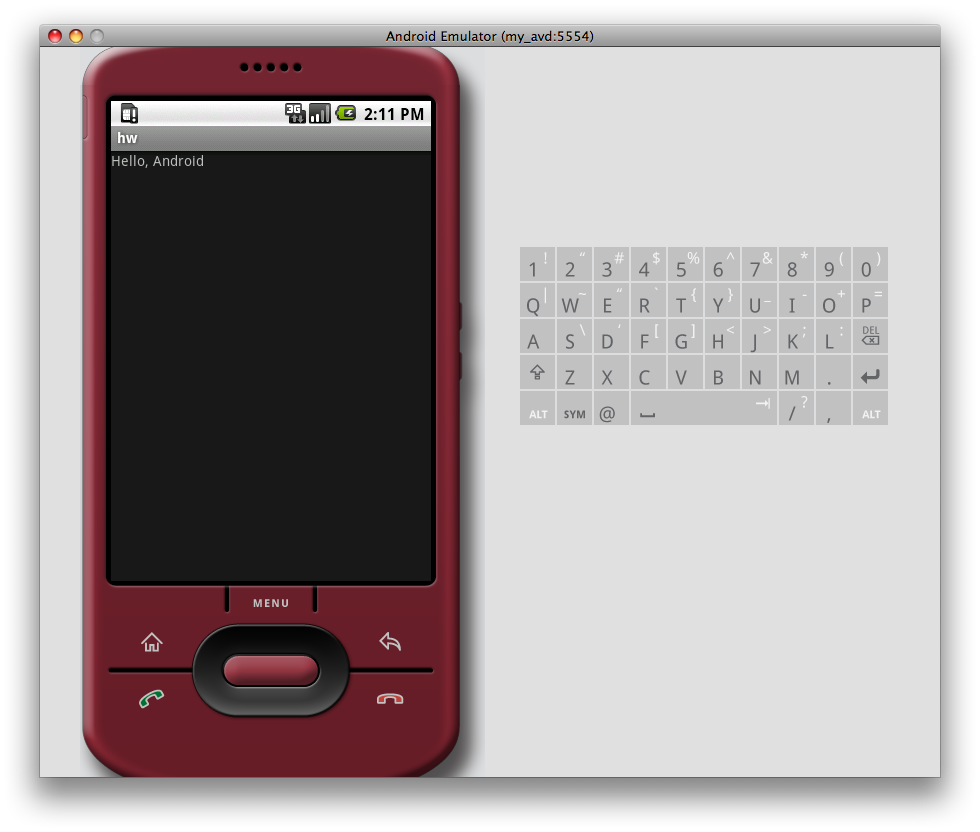
It took very long time to show the result. After you clicked the
run botton, you should drink a cup of coffee.
Hello, World without Eclipse
It is very difficult for us to use Eclipse every time. Now I'll show how to build and run an Android application without using Eclipse.
$ mkdir hw-vim && cd hw-vim
$ android create project --package com.example.hwvim --activity HW --target 2 --path .
(...fix src/(snip)/HW.java like the previous code...)
$ ant debug
$ emulator -avd my_avd
$ adb -s emulator-5554 install bin/HW-debug.apk
It did:
- Create a new Android Application Project
- Build
- Boot the Android emulator
- Install the application into the emulator
You may see the following error:
error: device not found
Unfortunately this error is undocumented here. The solution how to avoid it is to restart adb server.
$ ps aux | grep adb
$ kill -HUP {the process id}
Now you must be able to see the new app:
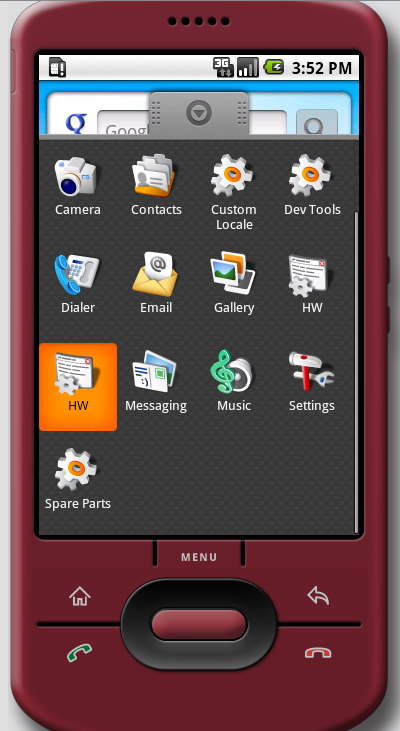
I don't know why, but I cannot boot the application. An error occurred.
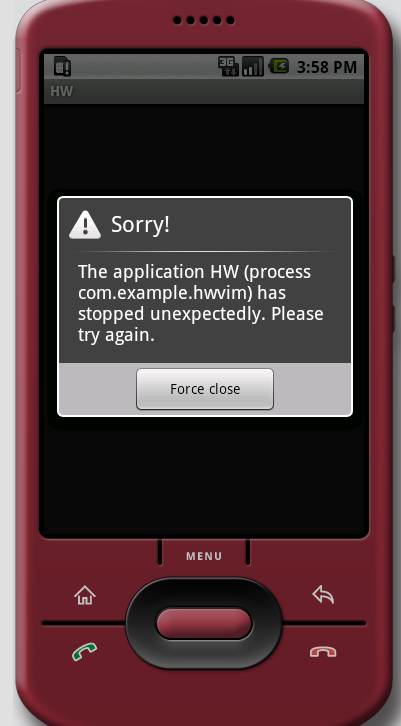
;-(
